
Latest Version: v1.12.3
Released: 1 August 2009
NEW:
Improved compatibility
Support for latest devices
 |
Adds DOS compatibility to your Pocket Computer | Latest Version: v1.12.3 |
|||
| |
|||||
| Installing DR-DOS
7.03 Download the DR-DOS 7.03 Lite installation diskette #1 Rename the file from LDISK01.144 to DOS703_1.IMA and transfer it to your device Download the DR-DOS 7.03 Lite installation diskette #2 Rename the file from LDISK02.144 to DOS703_2.IMA and transfer it to your device Download the DR-DOS 7.03 Lite installation diskette #3 Rename the file from LDISK03.144 to DOS703_3.IMA and transfer it to your device Install the PocketDOS Utility Disk Image (supplied with PocketDOS) 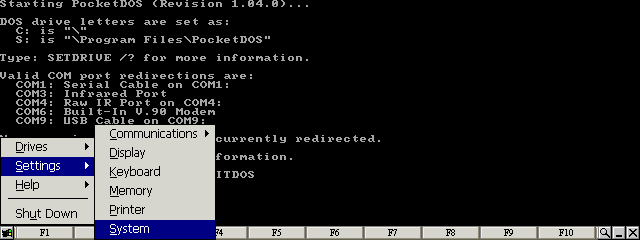
Select the System item from the Settings menu 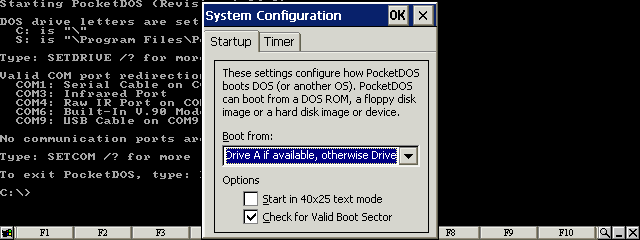
Set the options in the Startup configuration 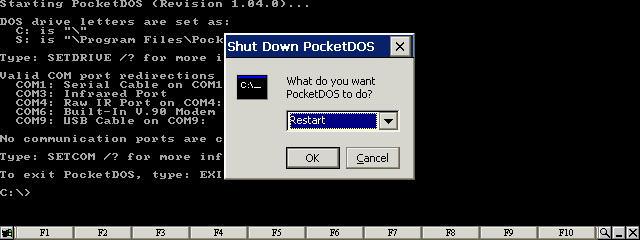
Restart PocketDOS 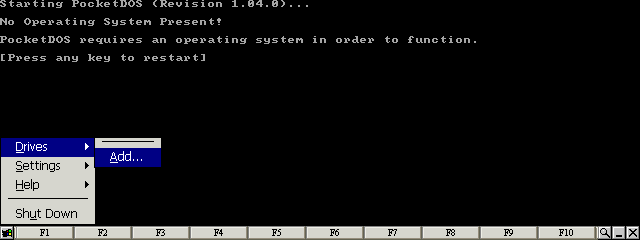
Select the Add... item from the Drives menu 
Press the Next button 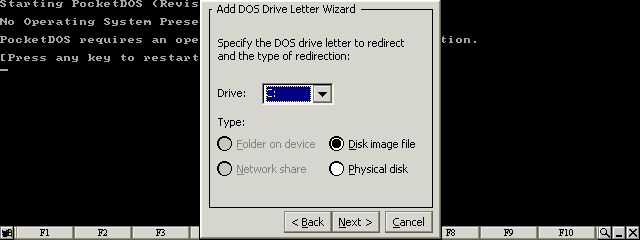
Select Disk image file for the C: drive letter 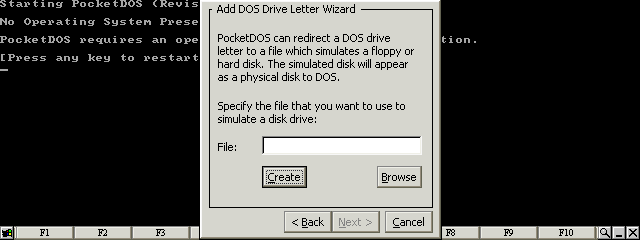
Press the Create button 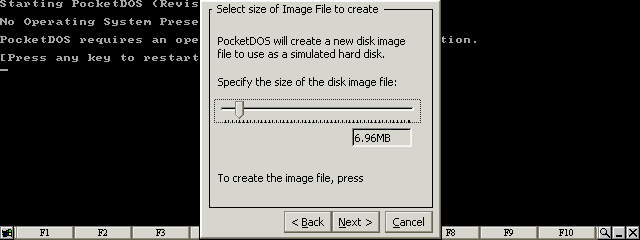
Set the size of the image file to at least 6.96Mb 
Enter a file name for the disk image and then press the Next button 
Press the Next button 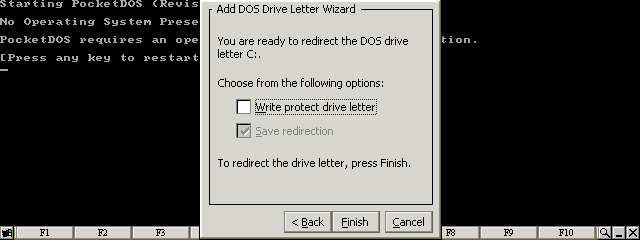
Clear all checkboxes and press the Finish button 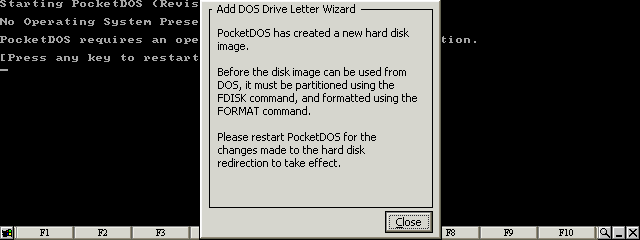
Press the Close button 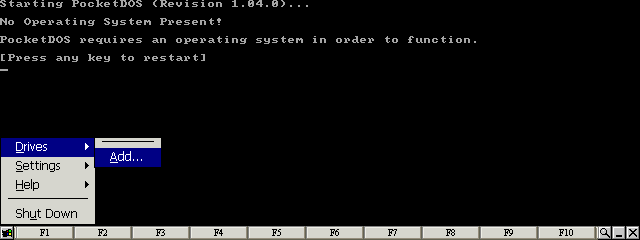
Select the Add... item from the Drives menu 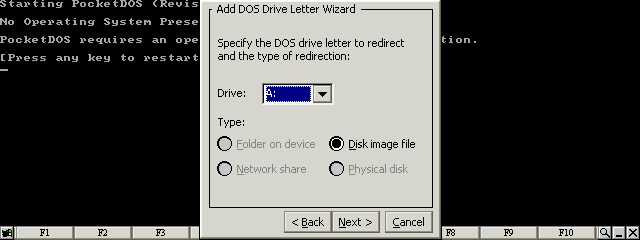
Select Disk image file for the A: drive letter 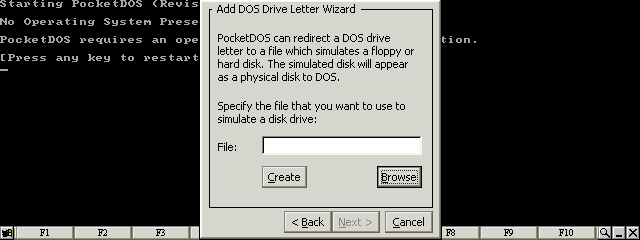
Press the Browse button 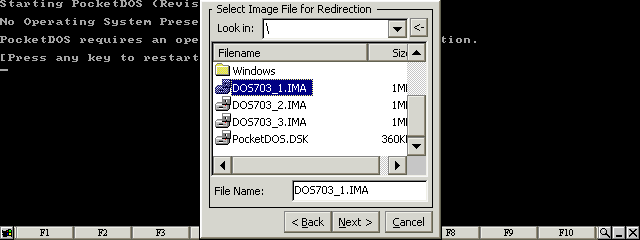
Select the first DR-DOS disk image 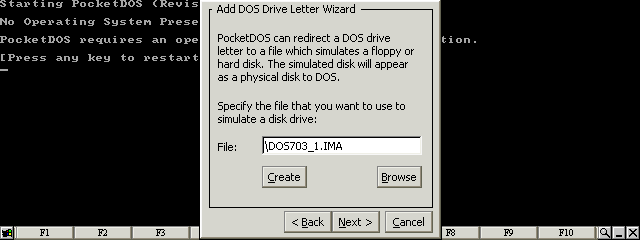
Press the Next button 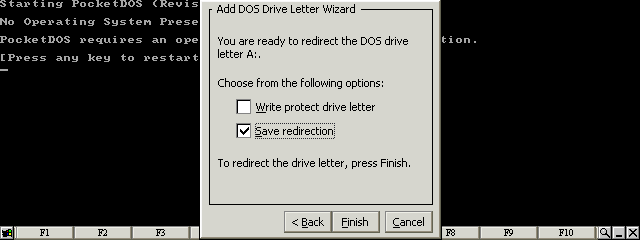
Set Save redirection and press the Finish button 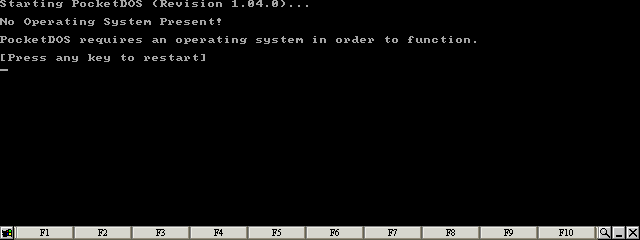
Press any key 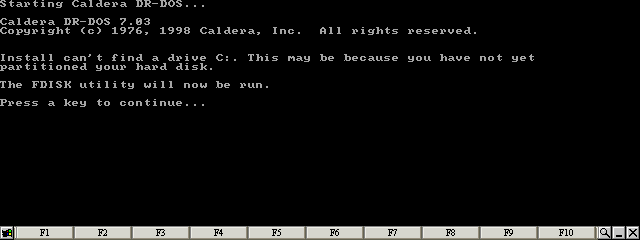
Press any key 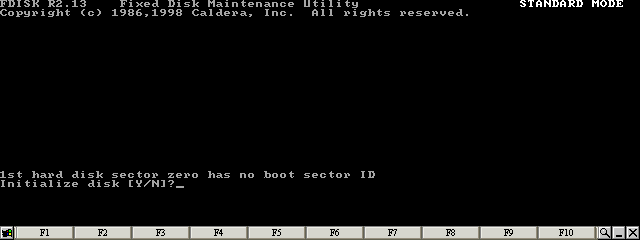
Press the 'Y' key 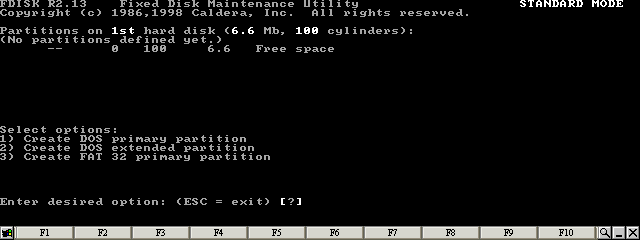
Press the '1' key 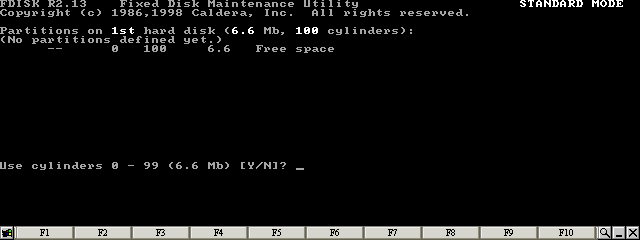
Press the 'Y' key 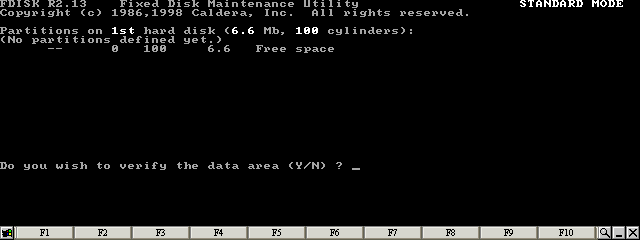
Press the 'N' key 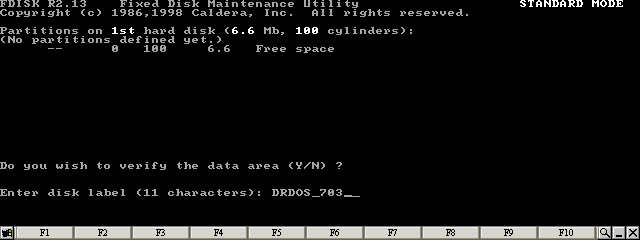
Enter a label for the disk image 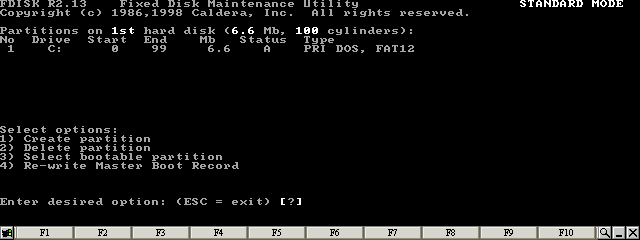
Press the ESC key 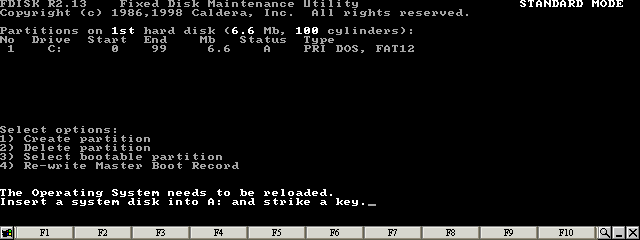
Press any key 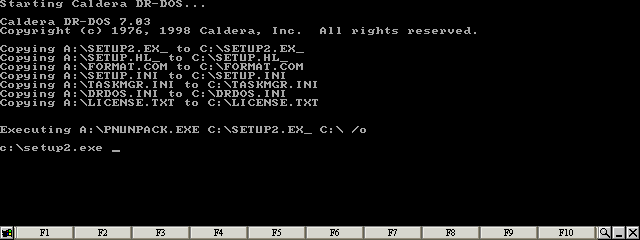
Wait a few minutes for the SETUP program to be unpacked 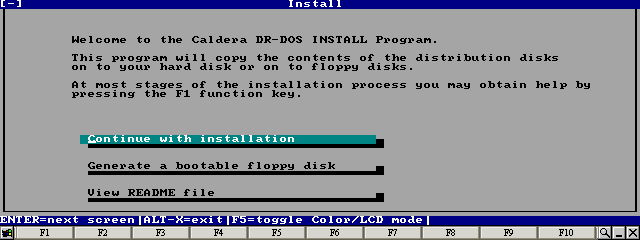
Select Continue with installation and press the Enter key 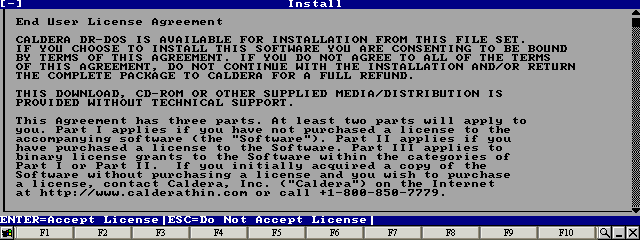
Press the Enter key 
Move the cursor to the Name field 
Enter your name and press the Enter key 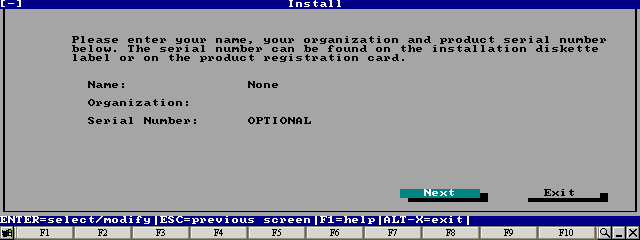
Move the cursor to the Next button and press the Enter key 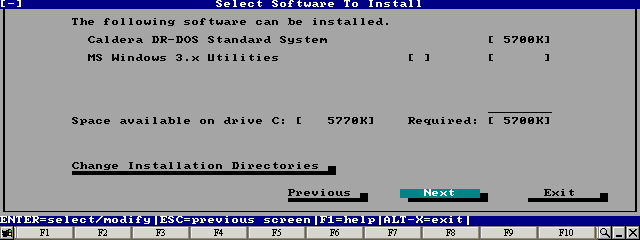
Move the cursor to the Next button and press the Enter key 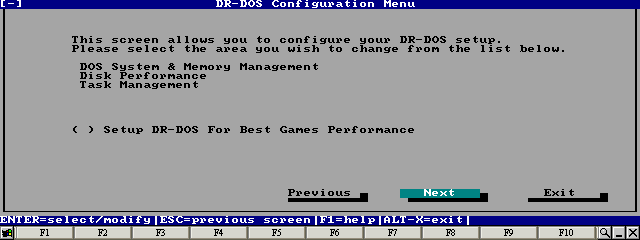
Move the cursor to the Next button and press the Enter key 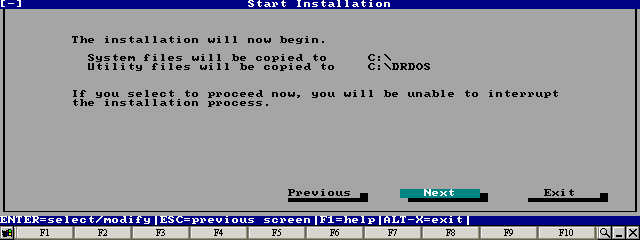
Move the cursor to the Next button and press the Enter key 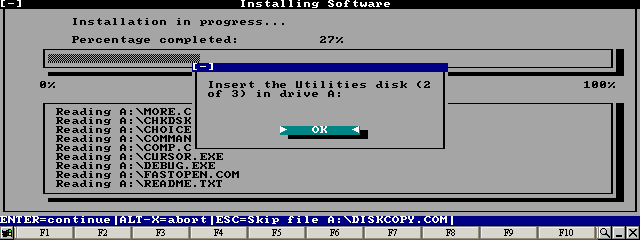
Wait until the SETUP program prompts for the next disk 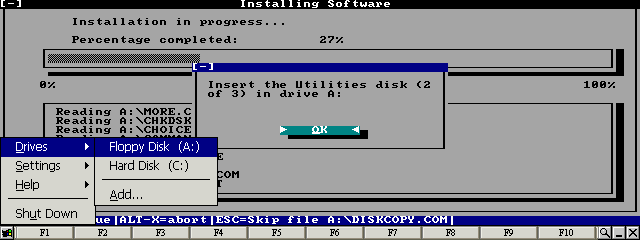
Select Floppy Disk (A:) from the Drives menu 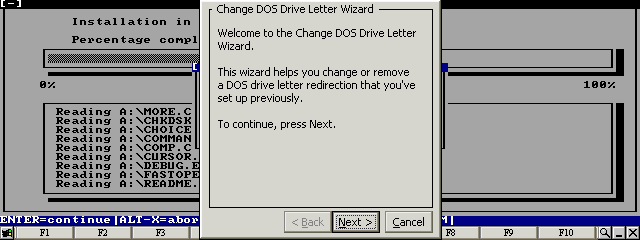
Press the Next button 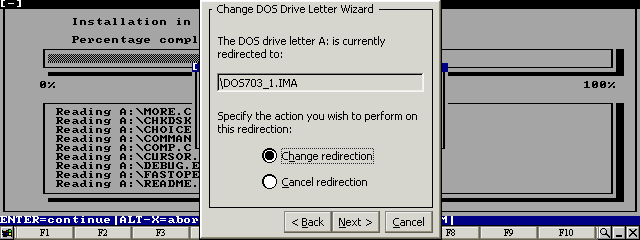
Select Change redirection and press the Next button 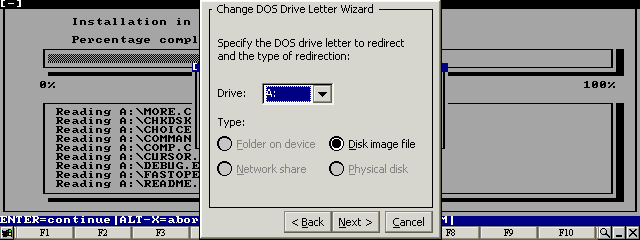
Select Disk image file for the A: drive letter 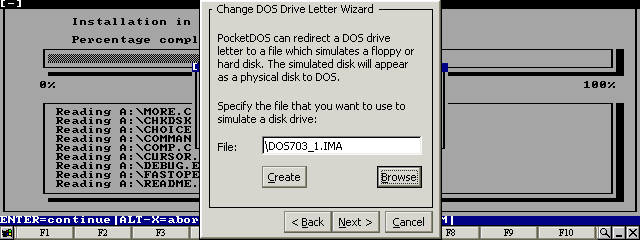
Press the Browse button 
Select the second DR-DOS disk image 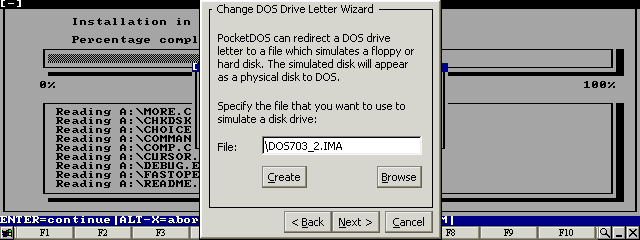
Press the Next button 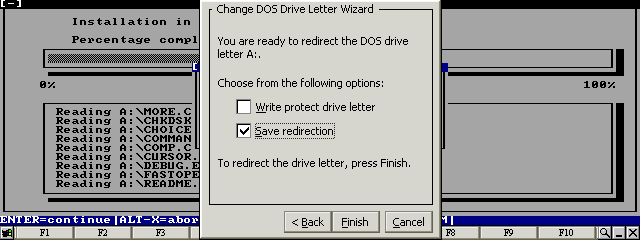
Set Save redirection and press the Finish button 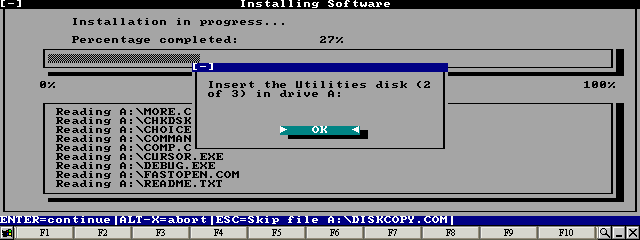
Press the Enter key 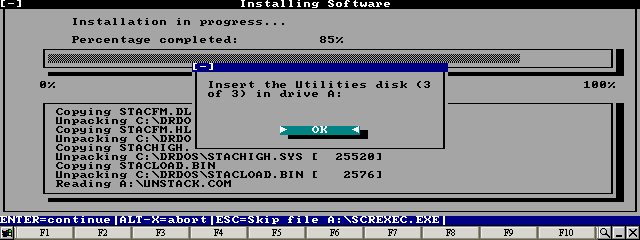
Wait until the SETUP program prompts for the next disk 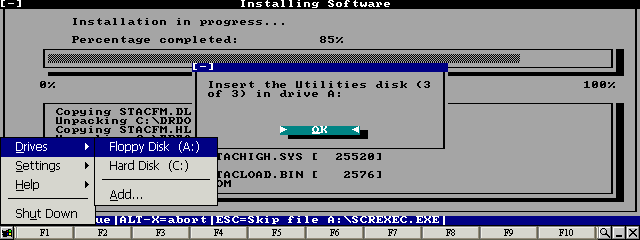
Select Floppy Disk (A:) from the Drives menu 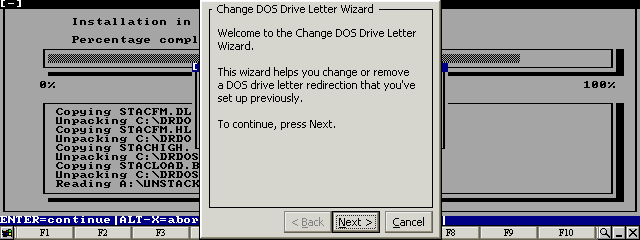
Press the Next button 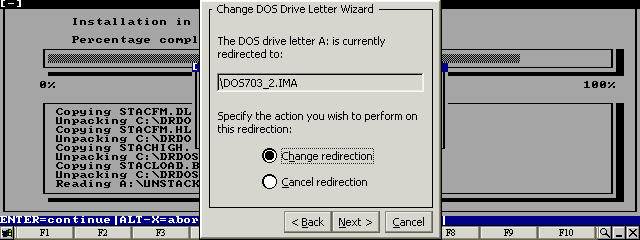
Select Change redirection and press the Next button 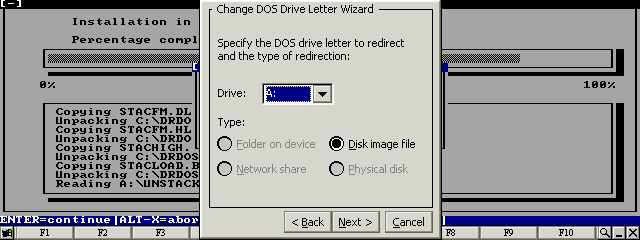
Select Disk image file for the A: drive letter 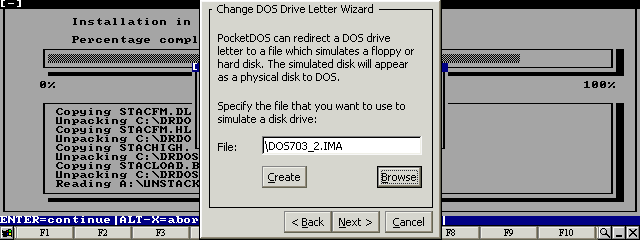
Press the Browse button 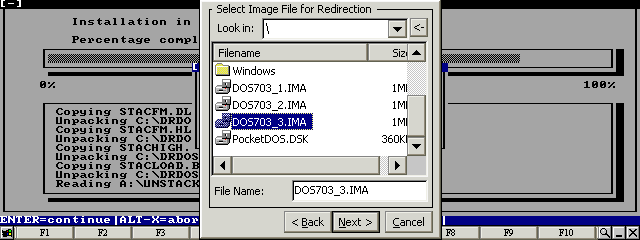
Select the third DR-DOS disk image 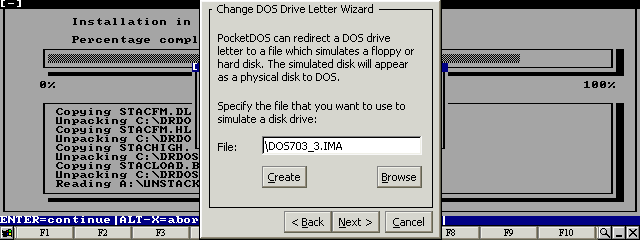
Press the Next button 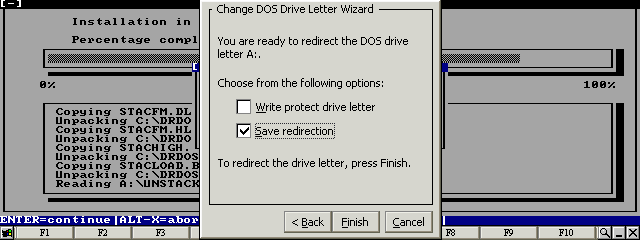
Set Save redirection and press the Finish button 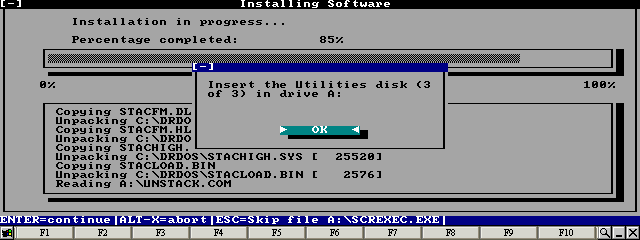
Press the Enter key 
Press the Enter key 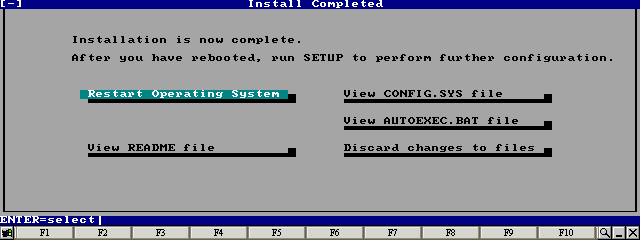
Move the cursor to Restart Operating System and press the Enter key 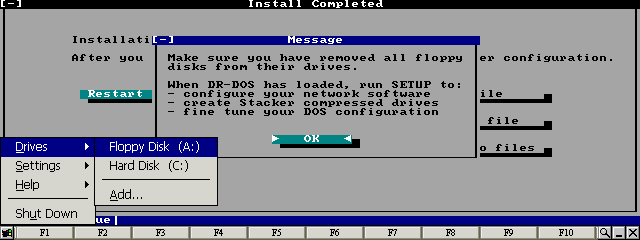
Select Floppy Disk (A:) from the Drives menu 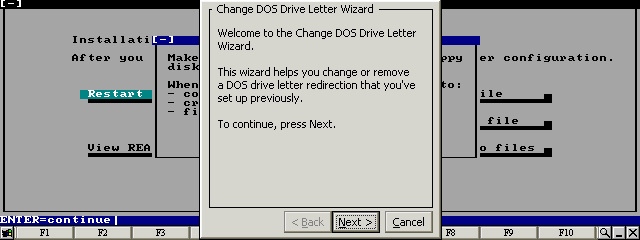
Press the Next button 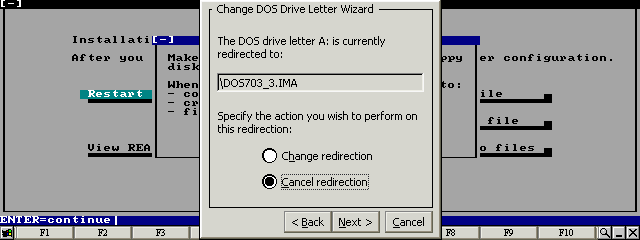
Select Cancel redirection and press the Next button 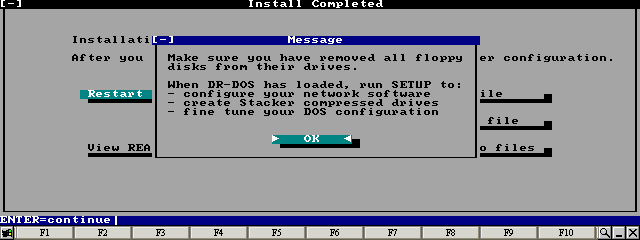
Press the Enter key 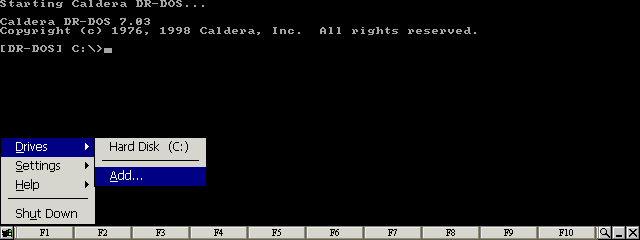
Select the Add... item from the Drives menu 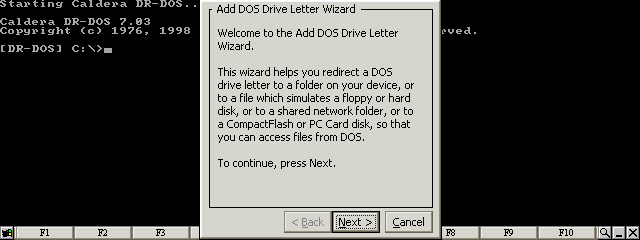
Press the Next button 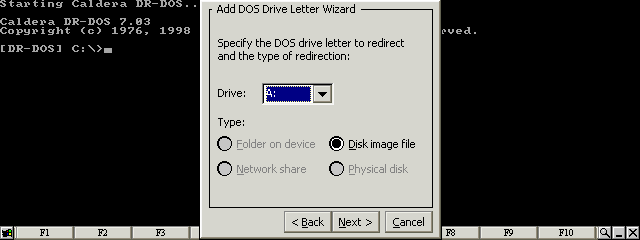
Select Disk image file for the A: drive letter 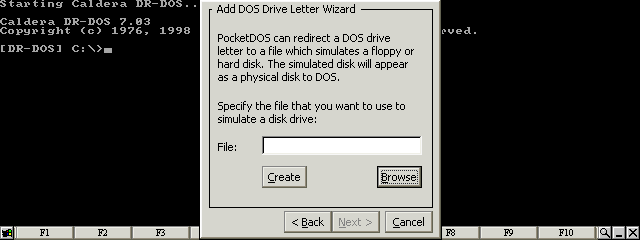
Press the Browse button 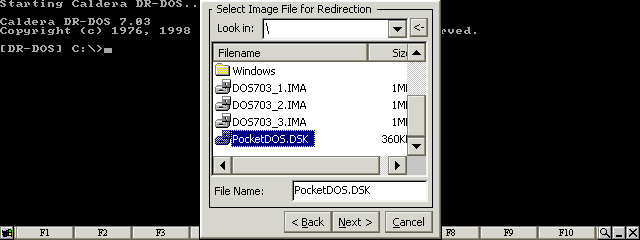
Select the PocketDOS utility disk image 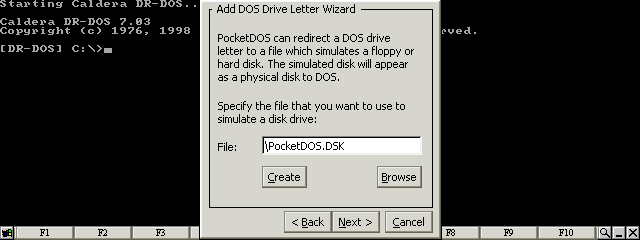
Press the Next button 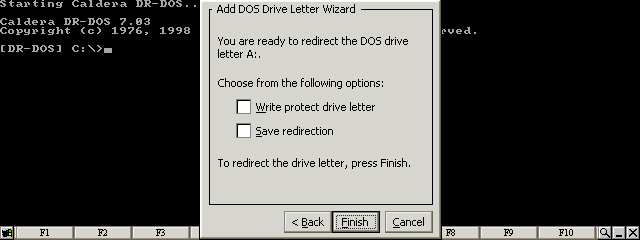
Clear all checkboxes and press the Finish button 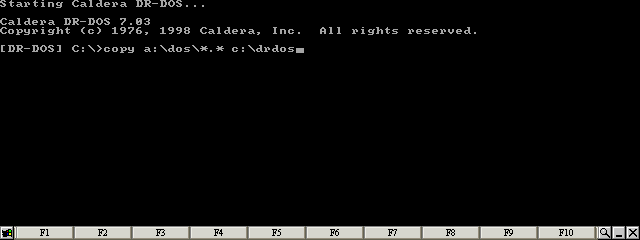
Type: COPY A:\DOS\*.* C:\DRDOS 
Type: COPY A:\CONFIG.SYS 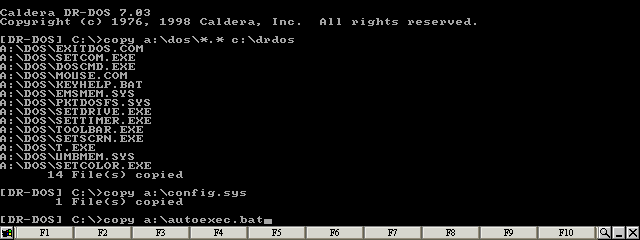
Type: COPY A:\AUTOEXEC.BAT 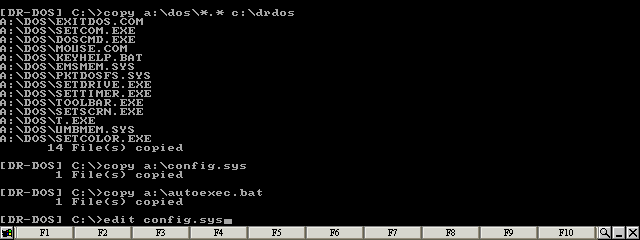
Type: EDIT CONFIG.SYS 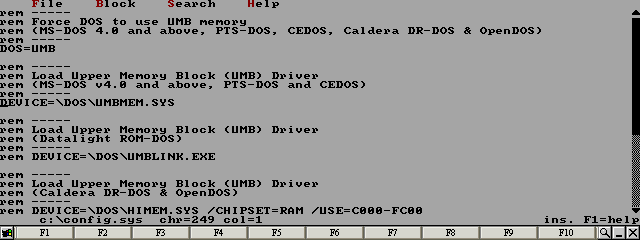
Move the cursor to the line starting: DEVICE=\DOS\UMBMEM.SYS 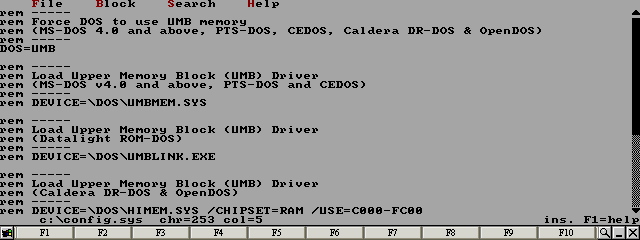
Comment out the line by inserting 'rem' at the beginning of the line 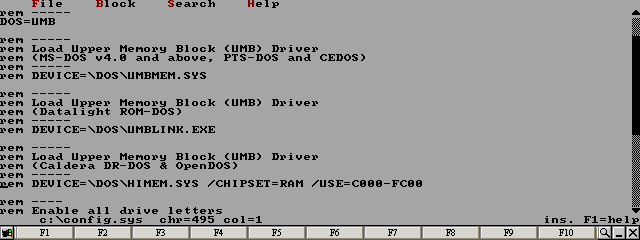
Move the cursor to the line starting: rem DEVICE=\DOS\HIMEM.SYS... 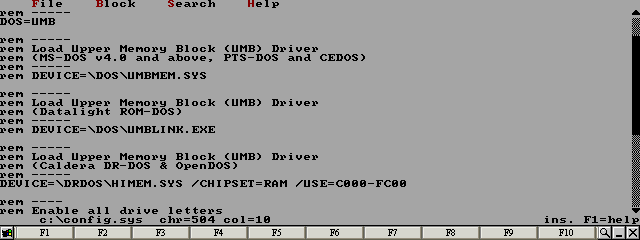
Remove the 'rem' from the beginning of the line and change the path from DOS to DRDOS 
Move the cursor to the line starting: DEVICEHIGH=\DOS\PKTDOSFS.SYS 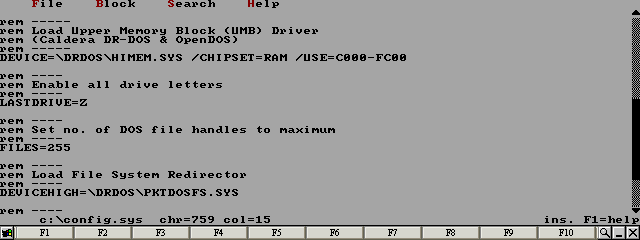
Change the path from DOS to DRDOS 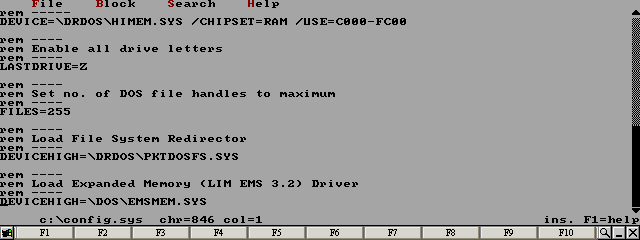
Move the cursor to the line starting: DEVICEHIGH=\DOS\EMSMEM.SYS 
Change the path from DOS to DRDOS 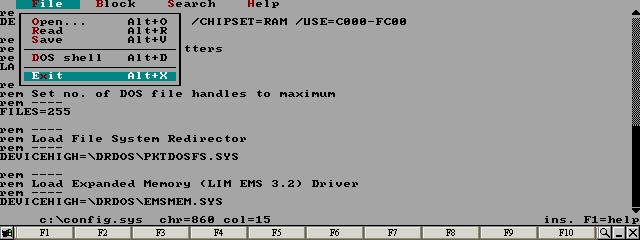
Select Exit from the File menu 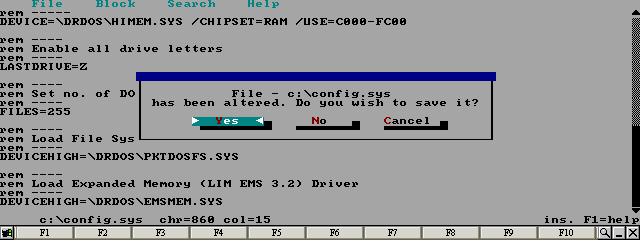
Move the cursor to Yes and press the Enter key 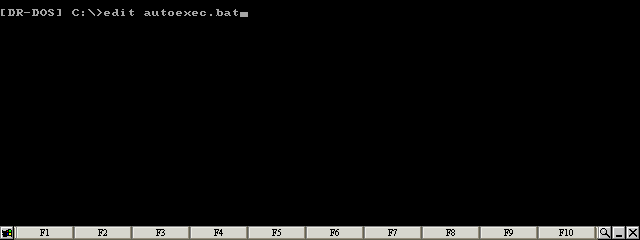
Type: EDIT AUTOEXEC.BAT 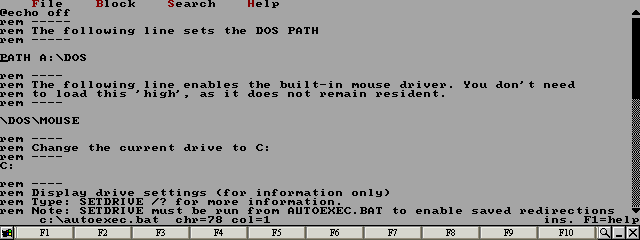
Move the cursor to the line starting: PATH A:\DOS 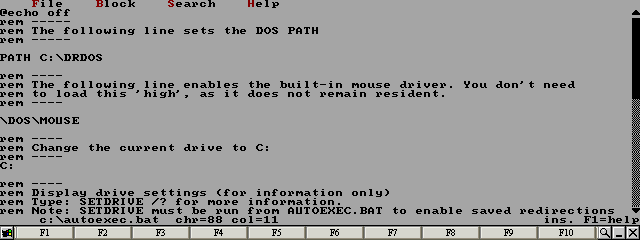
Change the line to read: PATH C:\DRDOS 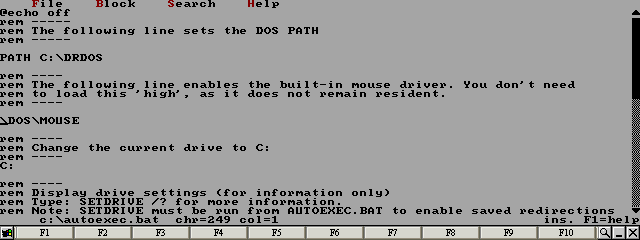
Move the cursor to the line starting: \DOS\MOUSE 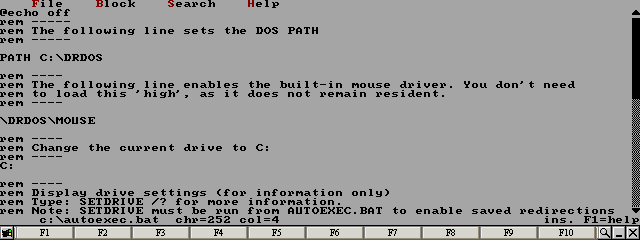
Change the path from DOS to DRDOS 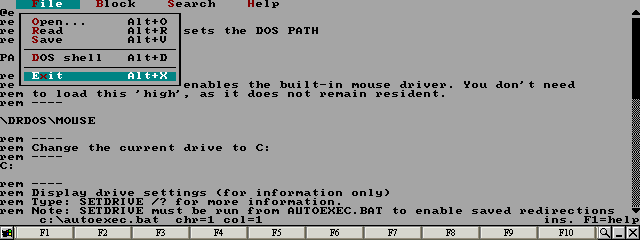
Select Exit from the File menu 
Move the cursor to Yes and press the Enter key 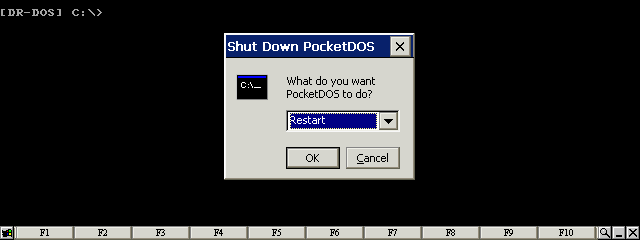
Restart PocketDOS 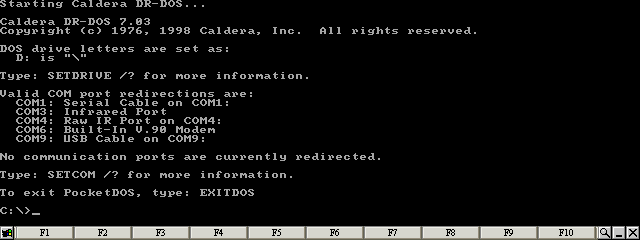
DR-DOS is now running |
| site design by www.zero21studios.com |